Digs: Site Activities
Field Walks Photos
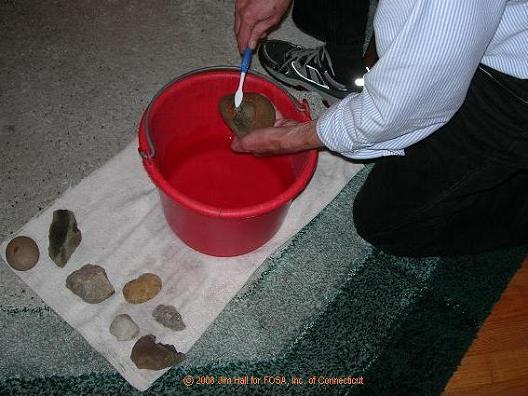
Clean artifacts using warm or cold water and a toothbrush. This can be done with either stone or ceramic materials. Let them air-dry.
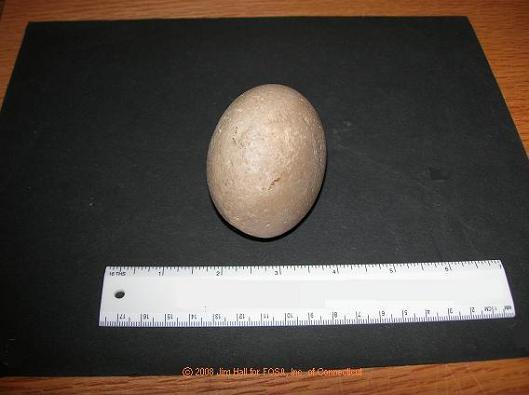
This is a medium-sized quartzite pebble used as a hammerstone. The wear pattern on some of its surfaces verifies its use as a tool.
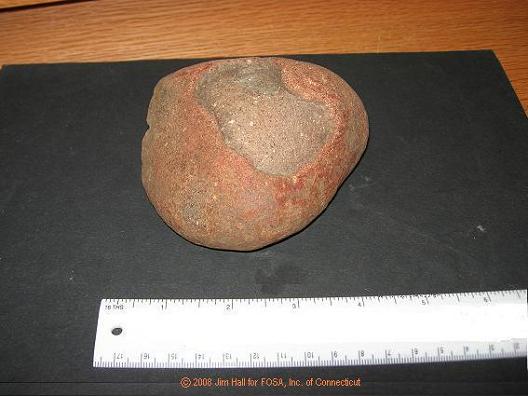
This is a fire-cracked hearthstone of basalt material. The large flake that is spalled from its outer surface was caused by excessive heat.
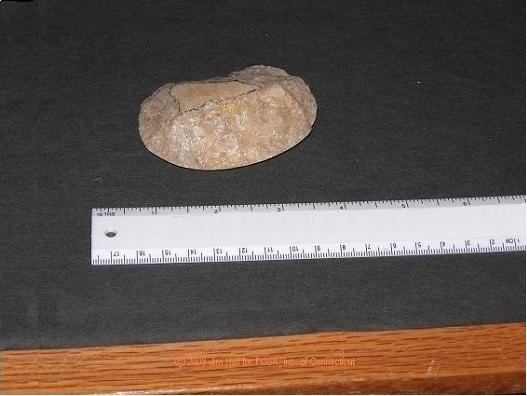
This oblong pebble shows the initial step in manufacturing a projectile point, which has been outlined for clarity.
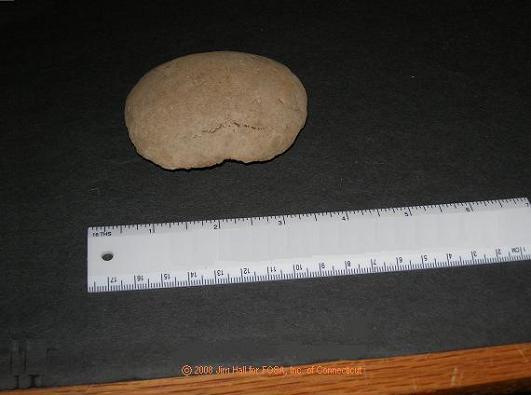
This is the opposite side of the oblong pebble shown in the previous image. It clearly shows the turtle-back form.
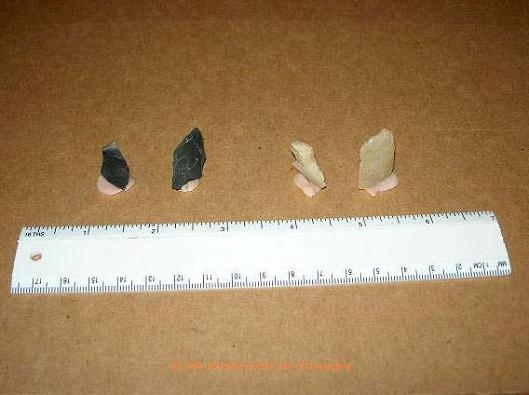
These are flakes and/or chips of flint (the dark material) and quartz. These are a by-product of stone tool manufacturing. The term 'debitage' is applied to this type of material.

This is a fragment of a modern-day ceramic plate inadvertantly discarded in the field.

These are fragments of freshwater clam shells from prehistoric Native American midden (trash-dump) features. Years of recent plowing have reduced the shells to these very small fragments.